I created this quilled floral frame using a basic wooden frame and some colored cardstock.

You see, I’m a terrible procrastinator and my sister-in-law’s birthday is a prime example. As birthday’s do, hers always comes around the same time each year, but each year it still always takes me by surprise. Maybe it’s the fact that it is right in the middle of summer and my mind is elsewhere. Maybe I’m just a dork. But every year, she gets her birthday present at Christmas. Sad, right? I hang my head in shame. Especially because she always remembers mine. So this year I decided to get a jump in the game and started working on her gift early. That’s where the quilled frame came in.

I found this awesome unfinished frame and it gave me a great idea for the perfect gift for her.
For this project I used:
1 unfinished wooden frame
bright colored cardstock
Quilling tool
Aleene’s Tacky Glue
Acrylic paint
clear spray on varnish
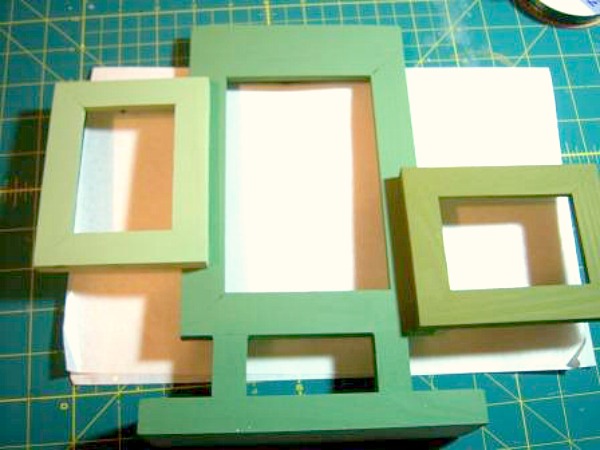
I wanted to give it a summery look so I first painted it with three different shades of green.
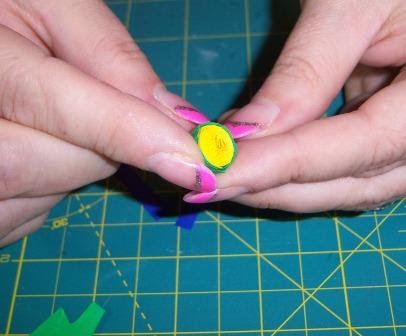
Once the paint was dry, I pulled out my quilling tools and cardstock. I wanted this frame to look like a field of wildflowers. So I started with dandelions.
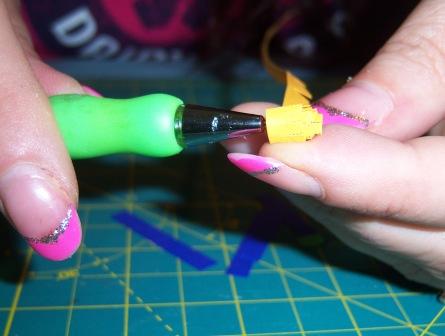
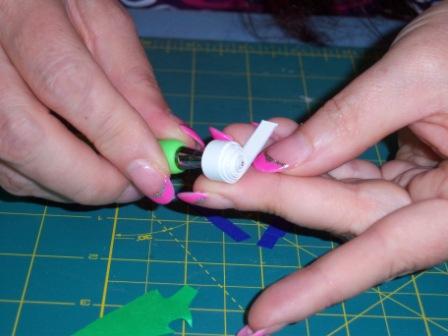
I cut some 1/4″ strips of yellow, glued a shorter 1/4″ strip of green to the end and then cut a fringe in it. I then coiled it using my quilling tool from the unfringed side, creating a tight coil and glued the end. I used the end of a paint brush to push the center out just a bit and then added several good drops of glue to the inside.
 |
 |
 |
 |
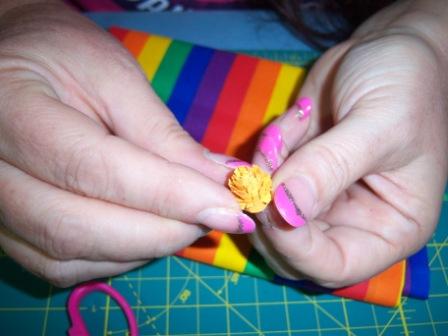
Once this has dried, you can fluff out the layers with your fingers to create the fringed flower.
 |
 |
For purple cone flowers, I created the center piece with yellow-orange cardstock using the same technique that I used on the dandelion only I pushed the center out even further with my paintbrush to create a pointed cone. I glued it on the inside and then fluffed it when it dried.
 |
 |
I then cut 1/8″ x 2″ strips in several different colors of lavendar and purple for the petals and glued them onto the back of the center cone in a fan-like fashion. Once the glue had dried, I clipped each of the petals to shape them. To give the petals a more lifelike look, I man-handled them a bit to roughen them up and make them look more natural. Paper is amazingly pliable that way.
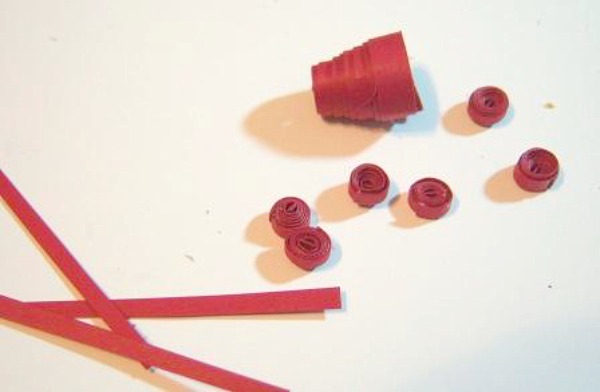
I wanted to make a raspberry vine, so I started with the berries. I created the inside of the berry by winding two separate 1/4″ strips of red cardstock into tight coils, pushing out the centers with a paint brush handle and gluing the inside. When they dried, I glued them together to form shape of the berry. I then coiled 1/8″ x 3″ strips to create the bumps on the outside of the raspberries. I glued these to the berry.

The green stem part was created by coiling green, and then adding tiny strips of dark or light green for the fringe on the stem.
Mushrooms were created by coiling white cardstock tightly, pushing the center out and gluing the inside- just like I did the inside of the berries. The mushroom stems are just cut 1/4″ cardstock that I rolled between my fingers to make a stem shape.
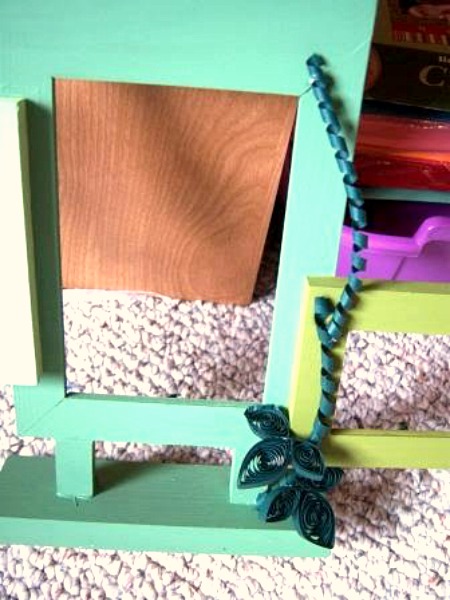
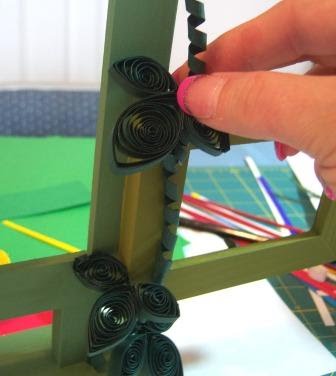
To start the greenery in the scene, I coiled 1/4″ dark green cardstock tightly around a knitting needle and then allowed it to keep that shape as I glued it down onto the frame. This is the base for the raspberry vine. I added 1/4″ pieces further up on the vine to create the branches for the berries.
 |
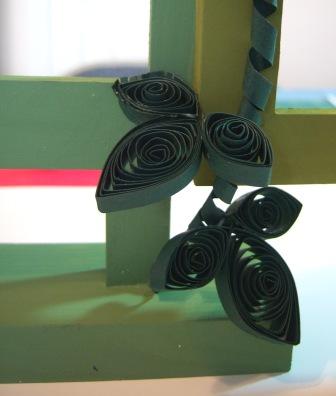 |
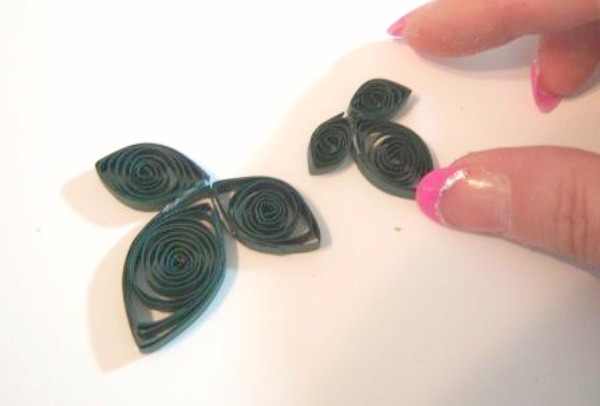
I created leaves for the vine by coiling 1/4″ dark green cardstock into coils, pinching one end to create a teardrop shape. One larger teardrop and two small ones make a leaf. I glued them together at the end and then added them to different places along the main stem.

I glued on the finished berries and added the cone flowers, bending the petals downward like they look on an actual coneflower.
 |
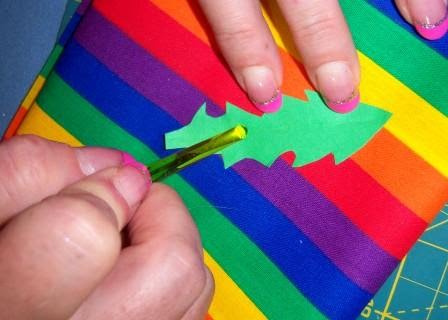 |
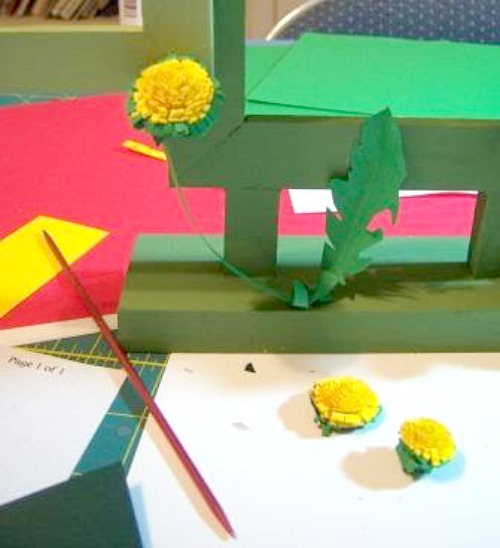
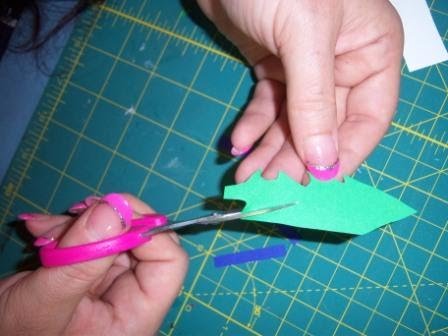
The dandelion was assembled by creating leaves that I simply cut out and embossed with the end of my handy-dandy paintbrush. Again, I man-handled these leaves to make them more pliant and bendy. Don’t be afraid to take out your aggressions on the leaves, it’s good therapy and you don’t want them to look perfect. I assembled the dandelion by glueing the pieces to the frame working from the back of the plant to the front.

Grass was created by cutting 3″ x 2″ strips of various greens, fringing them and coiling them from the unfringed end. Fluff with your fingers and then glue in place.
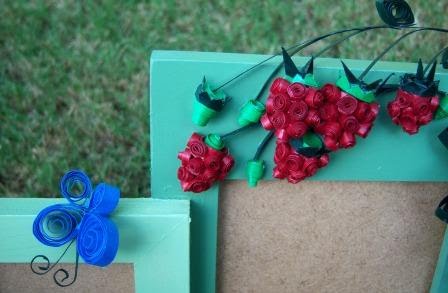
Mushrooms were glued in place along with a butterfly that I created using blue teardrop coils. The final touch was to add a bit of acrylic paint- I added a bit of watered down brown to the tops of the mushrooms, a line of yellow to the vein on the dandelion leaves a touch of yellow to the green fringe of the dandelion and a touch of lilac to the coneflowers.
The entire project was then given several coats of clear varnish to protect it.
My sister-in-law was given her present on her birthday. After I helped her up when she passed out from sheer amazement, she opened her present . Most likely the biggest surprise was that she didn’t have to wait until Christmas. But I do believe she liked it. Now if I can just get her Christmas present to her on time…
Are you new to the Sitcom? Be sure to check out my Frequently Asked Questions Page!
Enjoyed this tutorial? Be sure to check out my tutorial page for many more!


